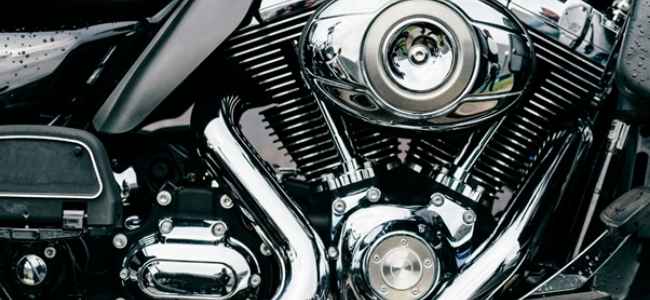
If you have a motorcycle in your garage, you are among the more than 10 million households in the US that own one. Whether you purchased your motorcycle for economic reasons, to be part of a community, or for the thrill of the ride, taking care of your bike means sticking to a regular motorcycle oil change schedule.
Ensuring that the outside of your bike looks shiny and new might be a priority, but an oil change can be the first line of defense in keeping your bike running smooth. Your oil keeps parts lubricated, and for many motorcycles, it also acts as a coolant.
Before you make an appointment with your nearest automotive service station, read on to see if a DIY motorcycle oil change is for you.
Benefits of a DIY Oil Change
Being able to work on your motorcycle at your convenience is beneficial. Once you are comfortable performing oil changes, it should only take about thirty minutes.
Completing your oil change at your home will save time with travel and waiting for your motorcycle to be taken care of. Even with an appointment, that doesn’t guarantee you a quick turnaround.
Your motorcycle oil change cost is another benefit to doing it yourself. Filters, oil, and labor can drive up the initial price of your oil change and leave you walking out the door with a higher bill.
What Tools Will I Need?
If you plan on changing the oil yourself regularly, you will need a drain pan, a socket kit, and a filter wrench.
For one-time use, buy a filter, drain bolt sealing washer, and oil. Consult your owner’s manual to determine what oil you should put into your vehicle.
For convenience, many companies offer kits, like this Kawasaki Mule Oil Change Kit. Oil change kits contain everything you need to complete the motorcycle maintenance yourself.
Understanding the Process of a Motorcycle Oil Change
Start off by checking your oil level and the condition of the oil. Milky oil could indicate a problem with your bike.
Some people prefer to change their oil at a natural temperature, while others prefer it hot, as the oil is easier to drain at higher temperatures. Watch out for hot oil if you choose that method.
Place your drain pan under the drain plug and remove the plug. Once the oil has drained, put the plug back in and torque it. Double-check the specifications so you aren’t overdoing it.
Uninstall your filter and install a new one. Depending on the filter type, you may need to replace the included sealing O-rings, if they are not attached to the filter.
Fill your bike with the amount of oil that your manual suggests. Start your bike and watch the check oil light and pressure gauge to make sure the oil is running through properly.
Let your bike run for a few minutes and then turn it off. Recheck your oil level and adjust as needed.
If you are unsure about changing your oil the first time, there are biker
community groups that offer videos, tips, and even events where you can learn more about your bike.
Do-It-Yourself Today
No matter your reason for trying a motorcycle oil change yourself, you will be able to spend your time and money on keeping it looking as good on the outside as it is running on the inside. Learning a new skill could also leave you with the confidence to try more DIY projects.
Looking for more articles like this? Check out our other vehicle-related tips and guides.


